A Stroll Through Nature
Over the past two weeks, I planned to write about my experience shooting nature. If you are a photographer reading this, I hope this inspires your creative spirit!
Before shooting pictures, I would first scout multiple locations online to determine their beauty, accessibility, and relevance to my project. Once a location was found, I would visit the location in person to observe all the views and perspectives the location offers, and the best times to shoot at the location to avoid distractions in my images and for the best possible lighting.

1/200 seconds, f/1.8, ISO 64
On the day of the photo walk, I pack all my essential photography gear, which includes my Nikon D850 and Nikon D7200 bodies, a wide angle and a “normal” or telephoto lens, and a tripod. Then, I set out to the location. I find that I hardly use my tripod for anything that isn’t astrophotography, light trails, or nighttime landscapes in general, but that does not mean that a tripod is not essential.

1/250 seconds, f/5.6, ISO 64
Listening to music while taking photos helps me a lot with my creative process, as it allows my mind to digest the scenery and to best represent it with my photos. Thus, packing a pair of headphones does not seem like a bad idea when shooting nature.

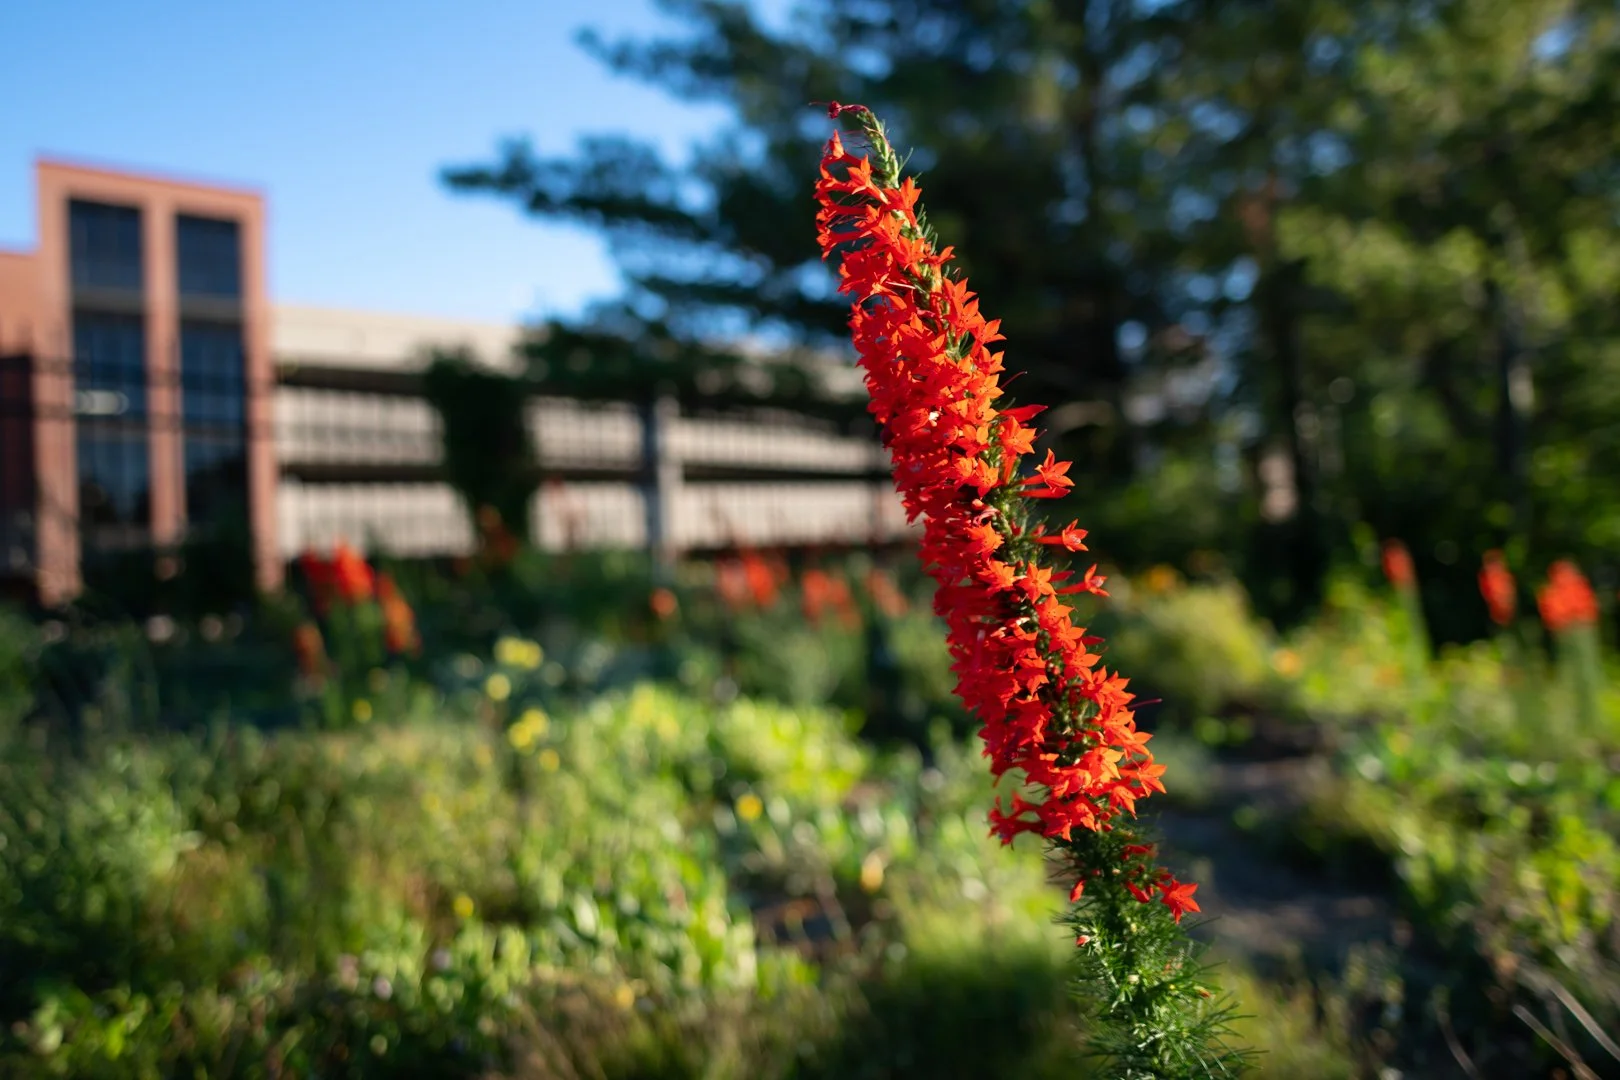
1/200 seconds, f/1.8, ISO 64
An important thing to note while shooting nature is that different angles and perspectives each tell a different story to the viewer. Low angles in nature photography tend to give the viewer an “Alice in Wonderland” experience while higher angles are more representative of what the viewer might see if they were to have followed you to the location. There is no perfect angle, so try to experiment with which works best for the story you want to tell.

1/400 seconds, f/5.6, ISO 64
When you draw in a sketchbook, you use the original white or light brown color of the page to represent highlights in your sketches, while your pencil creates shadows. The same applies to photography. Use light and shadows to convey a mood as they are the most powerful elements of a photograph. Adjust the exposure while shooting in Manual mode so that you can take full advantage of the lighting in your image. I, personally, like choosing my exposure settings based on the subject that I am shooting, so that it stands out.

1/640 seconds, f/1.8, ISO 64
Before you take a photo of a scene, first take a few minutes to observe the scene as that improves your creative understanding of the scene at that moment. It also lets you enjoy the scene before you photograph it. Do not be in a hurry to start shooting, as I notice most photographers do nowadays, but rather, patiently observe your subject, then capture it in all its glory.

1/250 seconds, f/5.6, ISO 64
Once I am done shooting, I carefully select the best photos I have taken, then I process them in editing software and upload them for viewers to see. It is a pretty quick process, but one that gives me joy every time I go through it. Below are the rest of the photos from this mini-project. I hope they inspire you.
1/640 seconds, f/1.8, ISO 64

1/125 seconds, f/2.8, ISO 200

1/640 seconds, f/1.8, ISO 64

1/200 seconds, f/4, ISO 64