Concert Photography for Beginners
Concert photography (also known as Music photography) is a very popular type of photography and it is super fun to shoot as well. As with other types of photography, it does come with its quirks and challenges, but the results you get are usually worth the challenge. Before you venture into shooting concerts, or just a concert, confirm that you are allowed to shoot at that venue, and confirm that the venue is safe for both you and your camera gear.
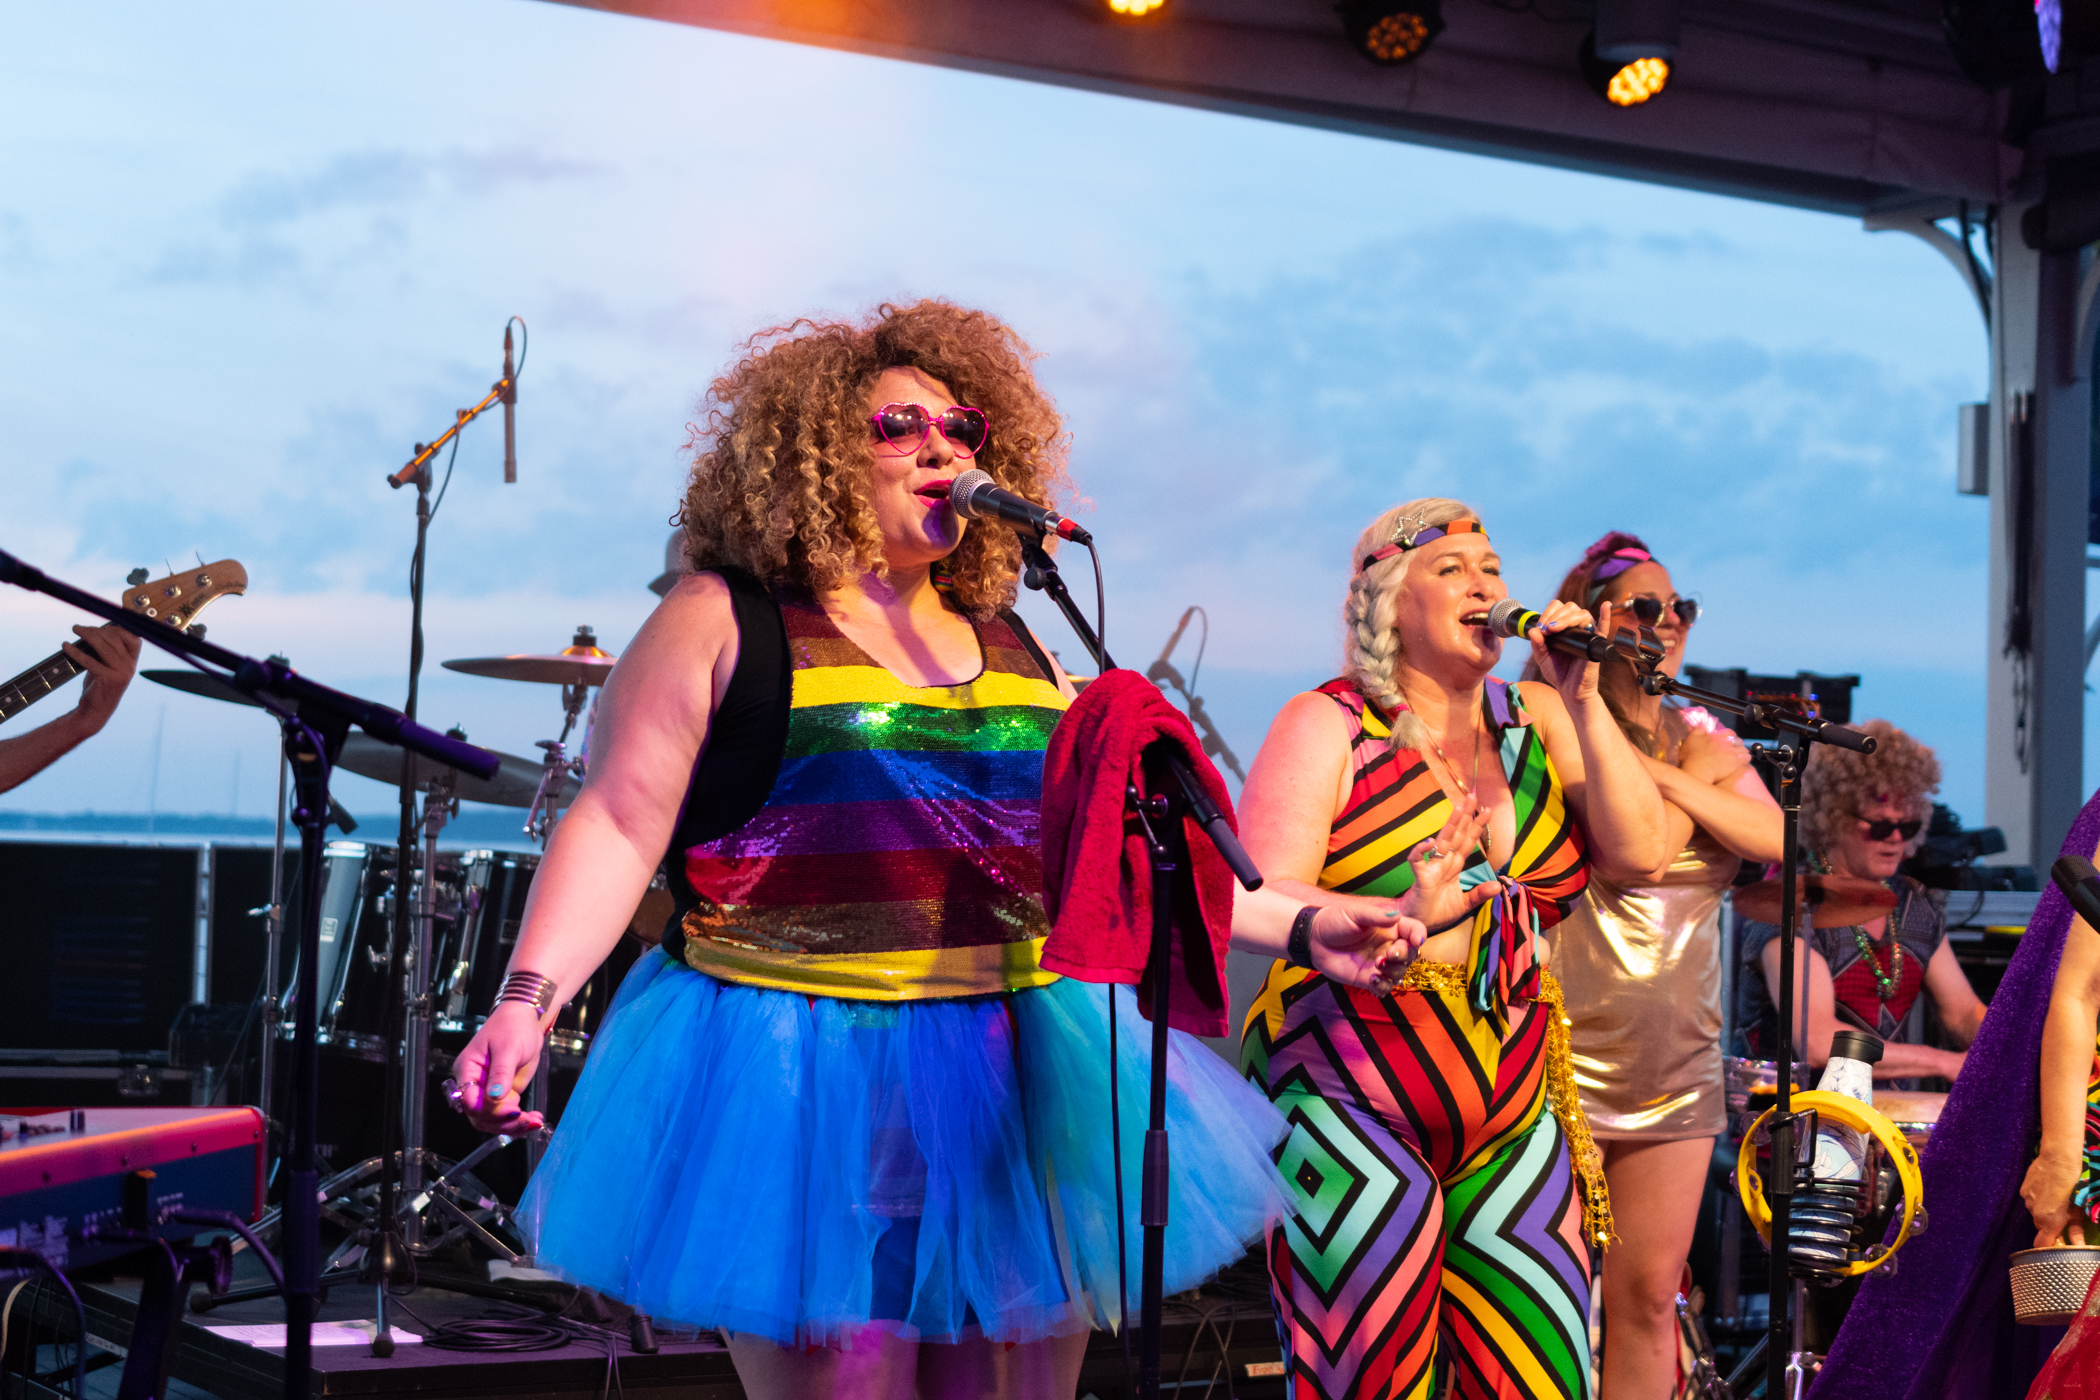
1/400 seconds, f/2.8, ISO 1600
Camera Settings
While there are no perfect settings for shooting concert photography (or any kind of photography at all) there are definitely some settings that I’d recommend you try out while shooting a concert. I’ll walk you through the basics then I’ll leave you with some special tips and techniques I use while shooting.
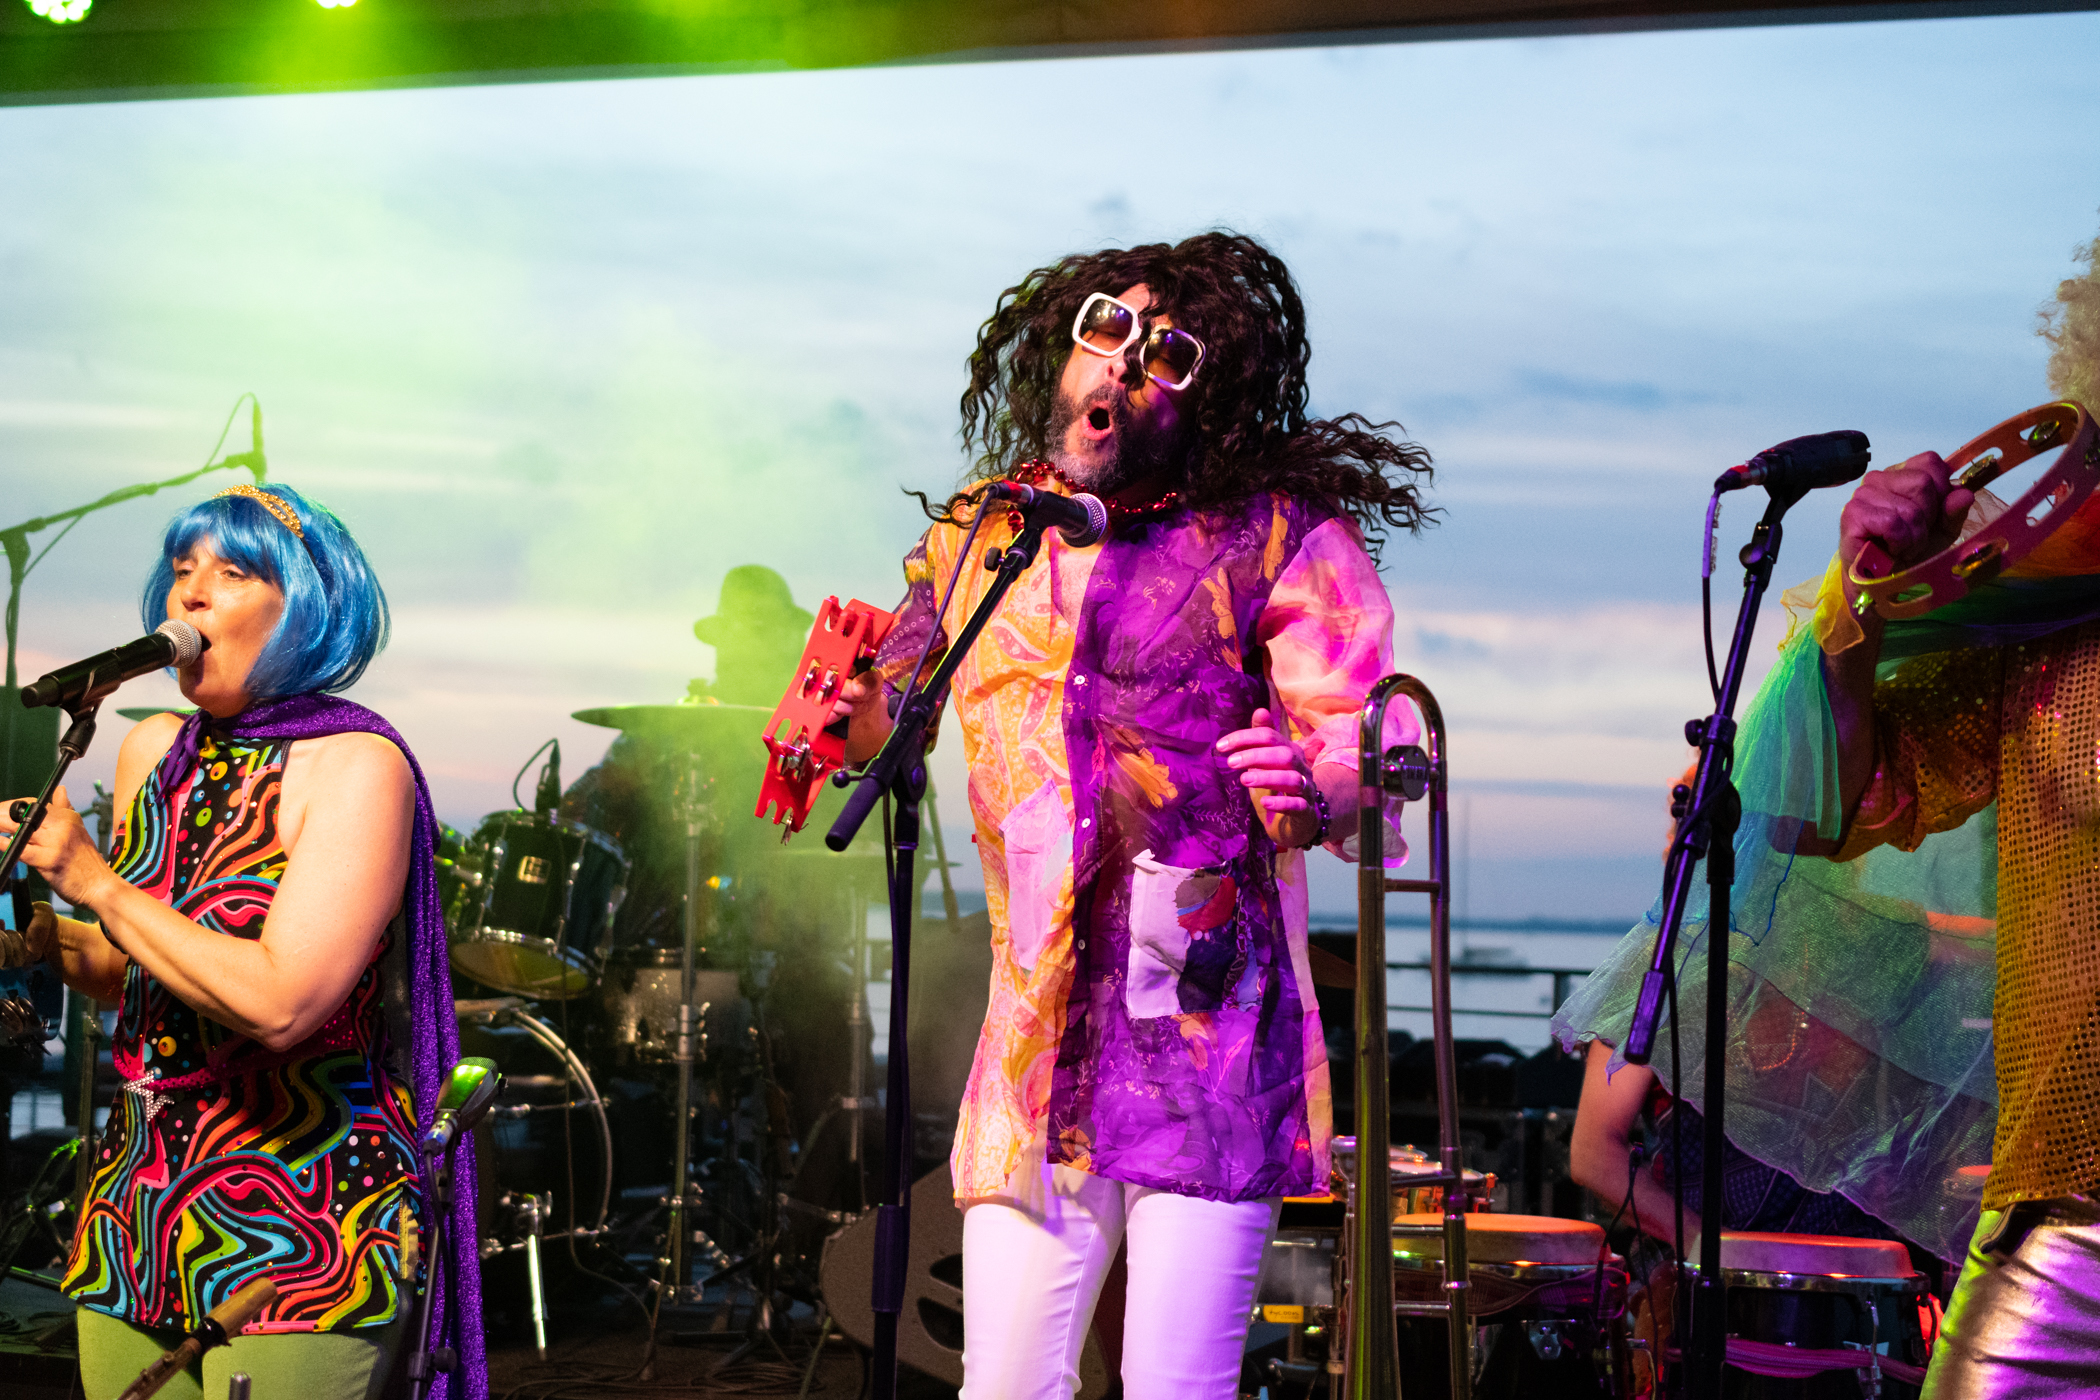
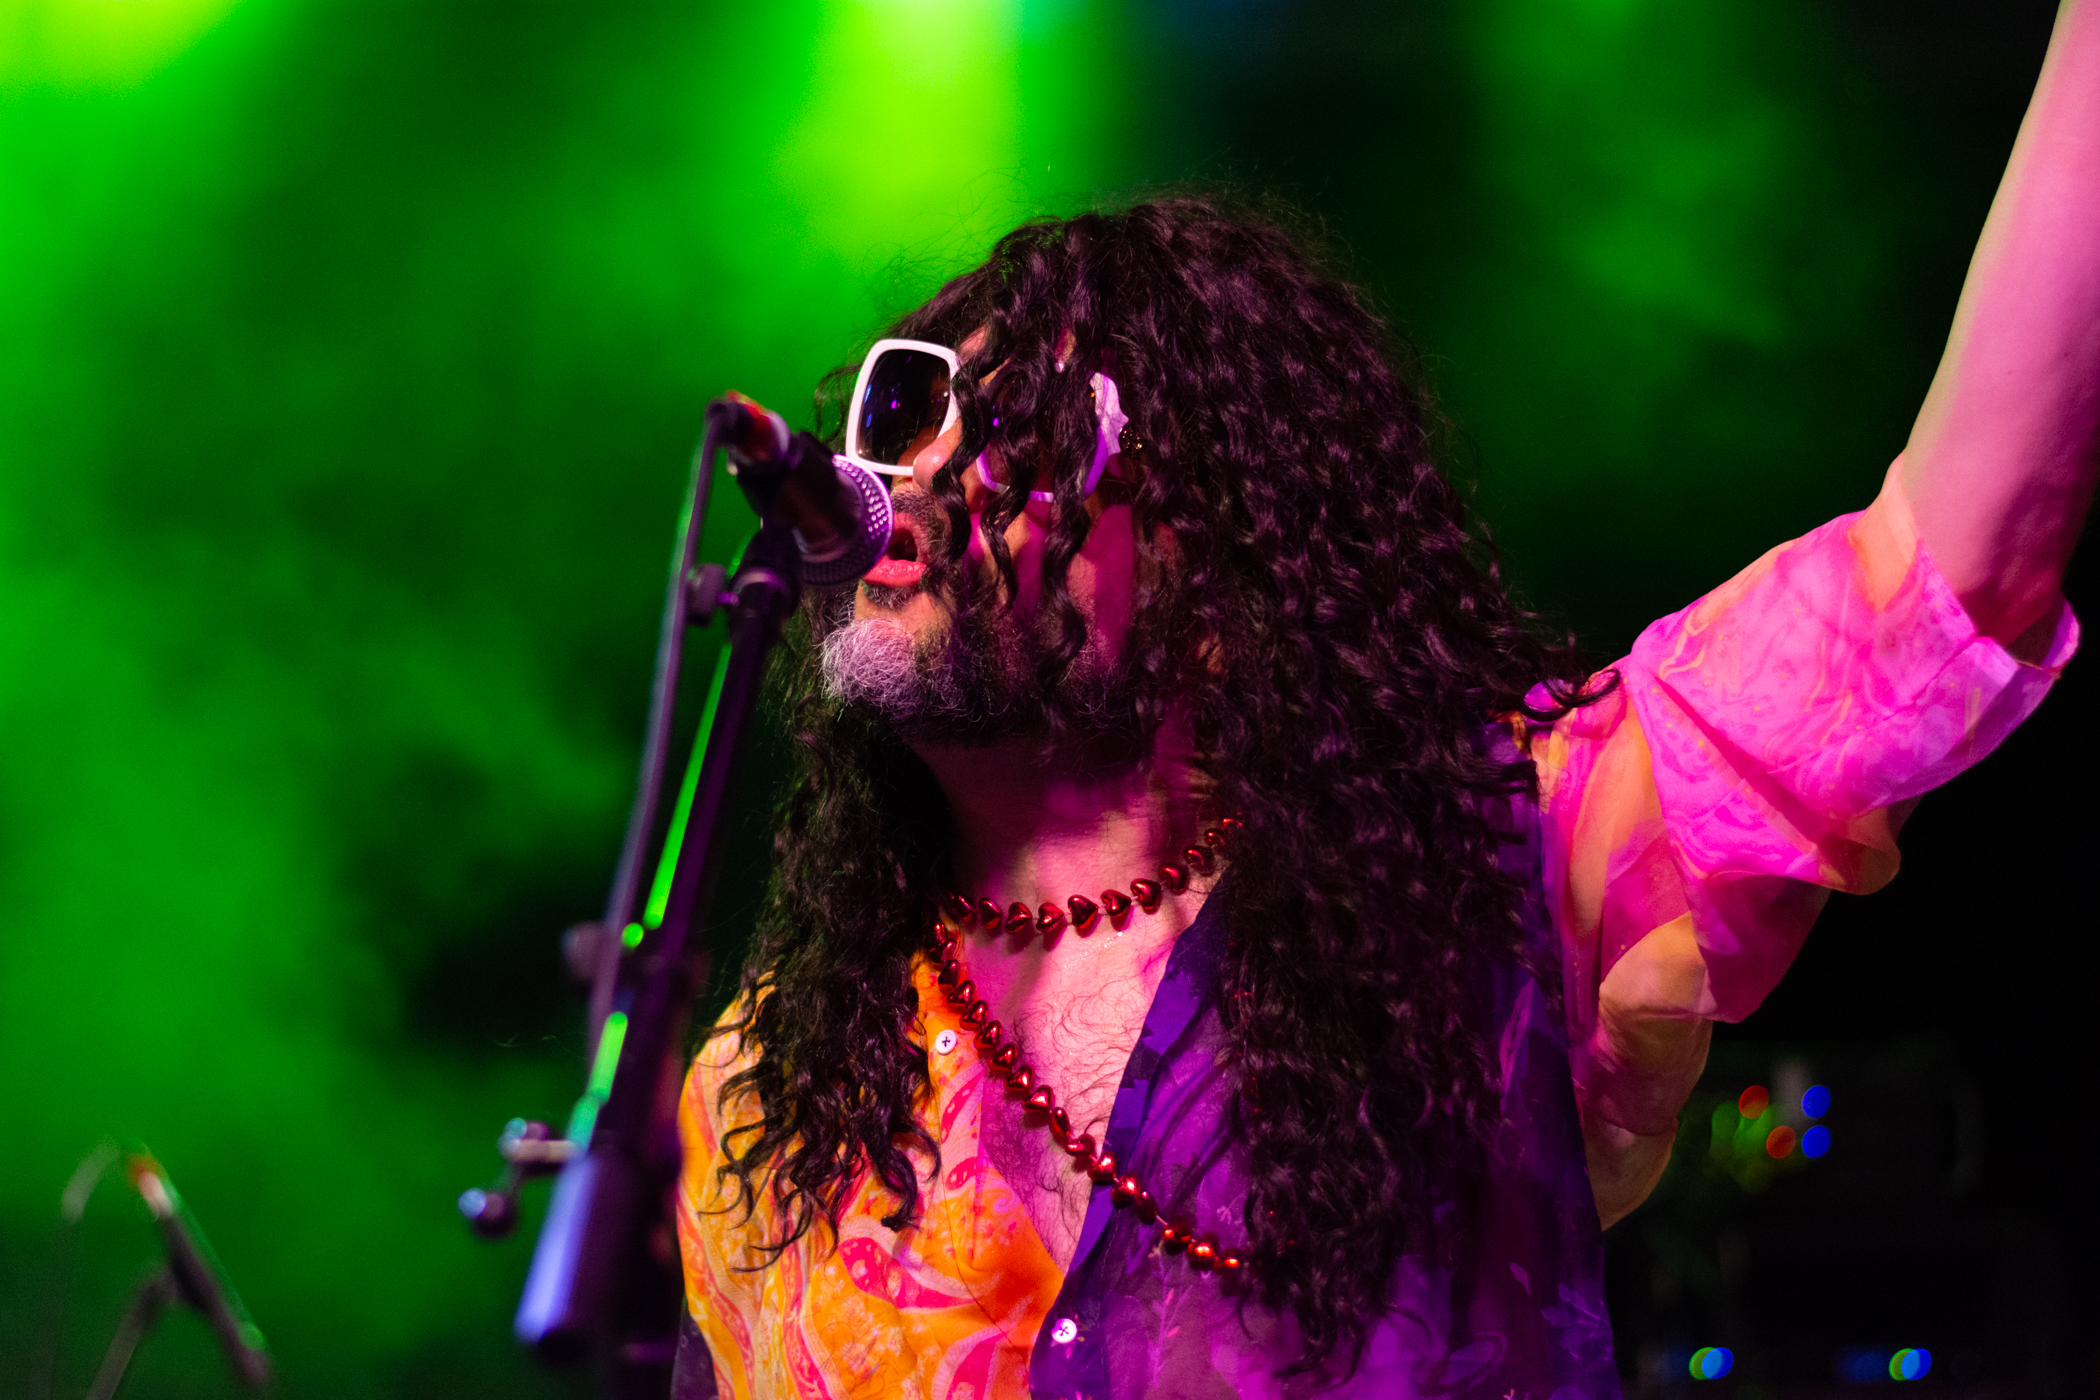
1/1250 seconds, f/2.8, ISO 3200
Shutter Speed
This is a setting that largely depends on the amount of action that’s happening on stage. Typically, for any kind of subject in motion, I’d recommend that you don’t shoot any slower than 1/200 seconds as even micro jitters from your wrists can cause noticeable motion blur upon close inspection of the image. I typically start off my camera at 1/250 seconds and adjust from there. If there is very little light or if you don’t own a lens with an aperture wider than f/5.6 then you may have to slow down your shutter speed even further to about 1/100 seconds. If your lens has some form of vibration reduction built-in, then slowing down your shutter speed should not be an issue, however, I’d strongly advise that you don’t shoot any slower than 1/100 seconds, even if your lens has vibration reduction.
A helpful tip is to occasionally zoom your images to 100% to confirm that you are nailing focus and keeping your subjects sharp. Some more expensive cameras let you do this by either pressing the “OK” button (for Nikon) or by pressing the “Magnifying Glass” button (for Canon). If your camera is an entry-level model, you may have to manually do this by zooming in a fair bit, but not too much.

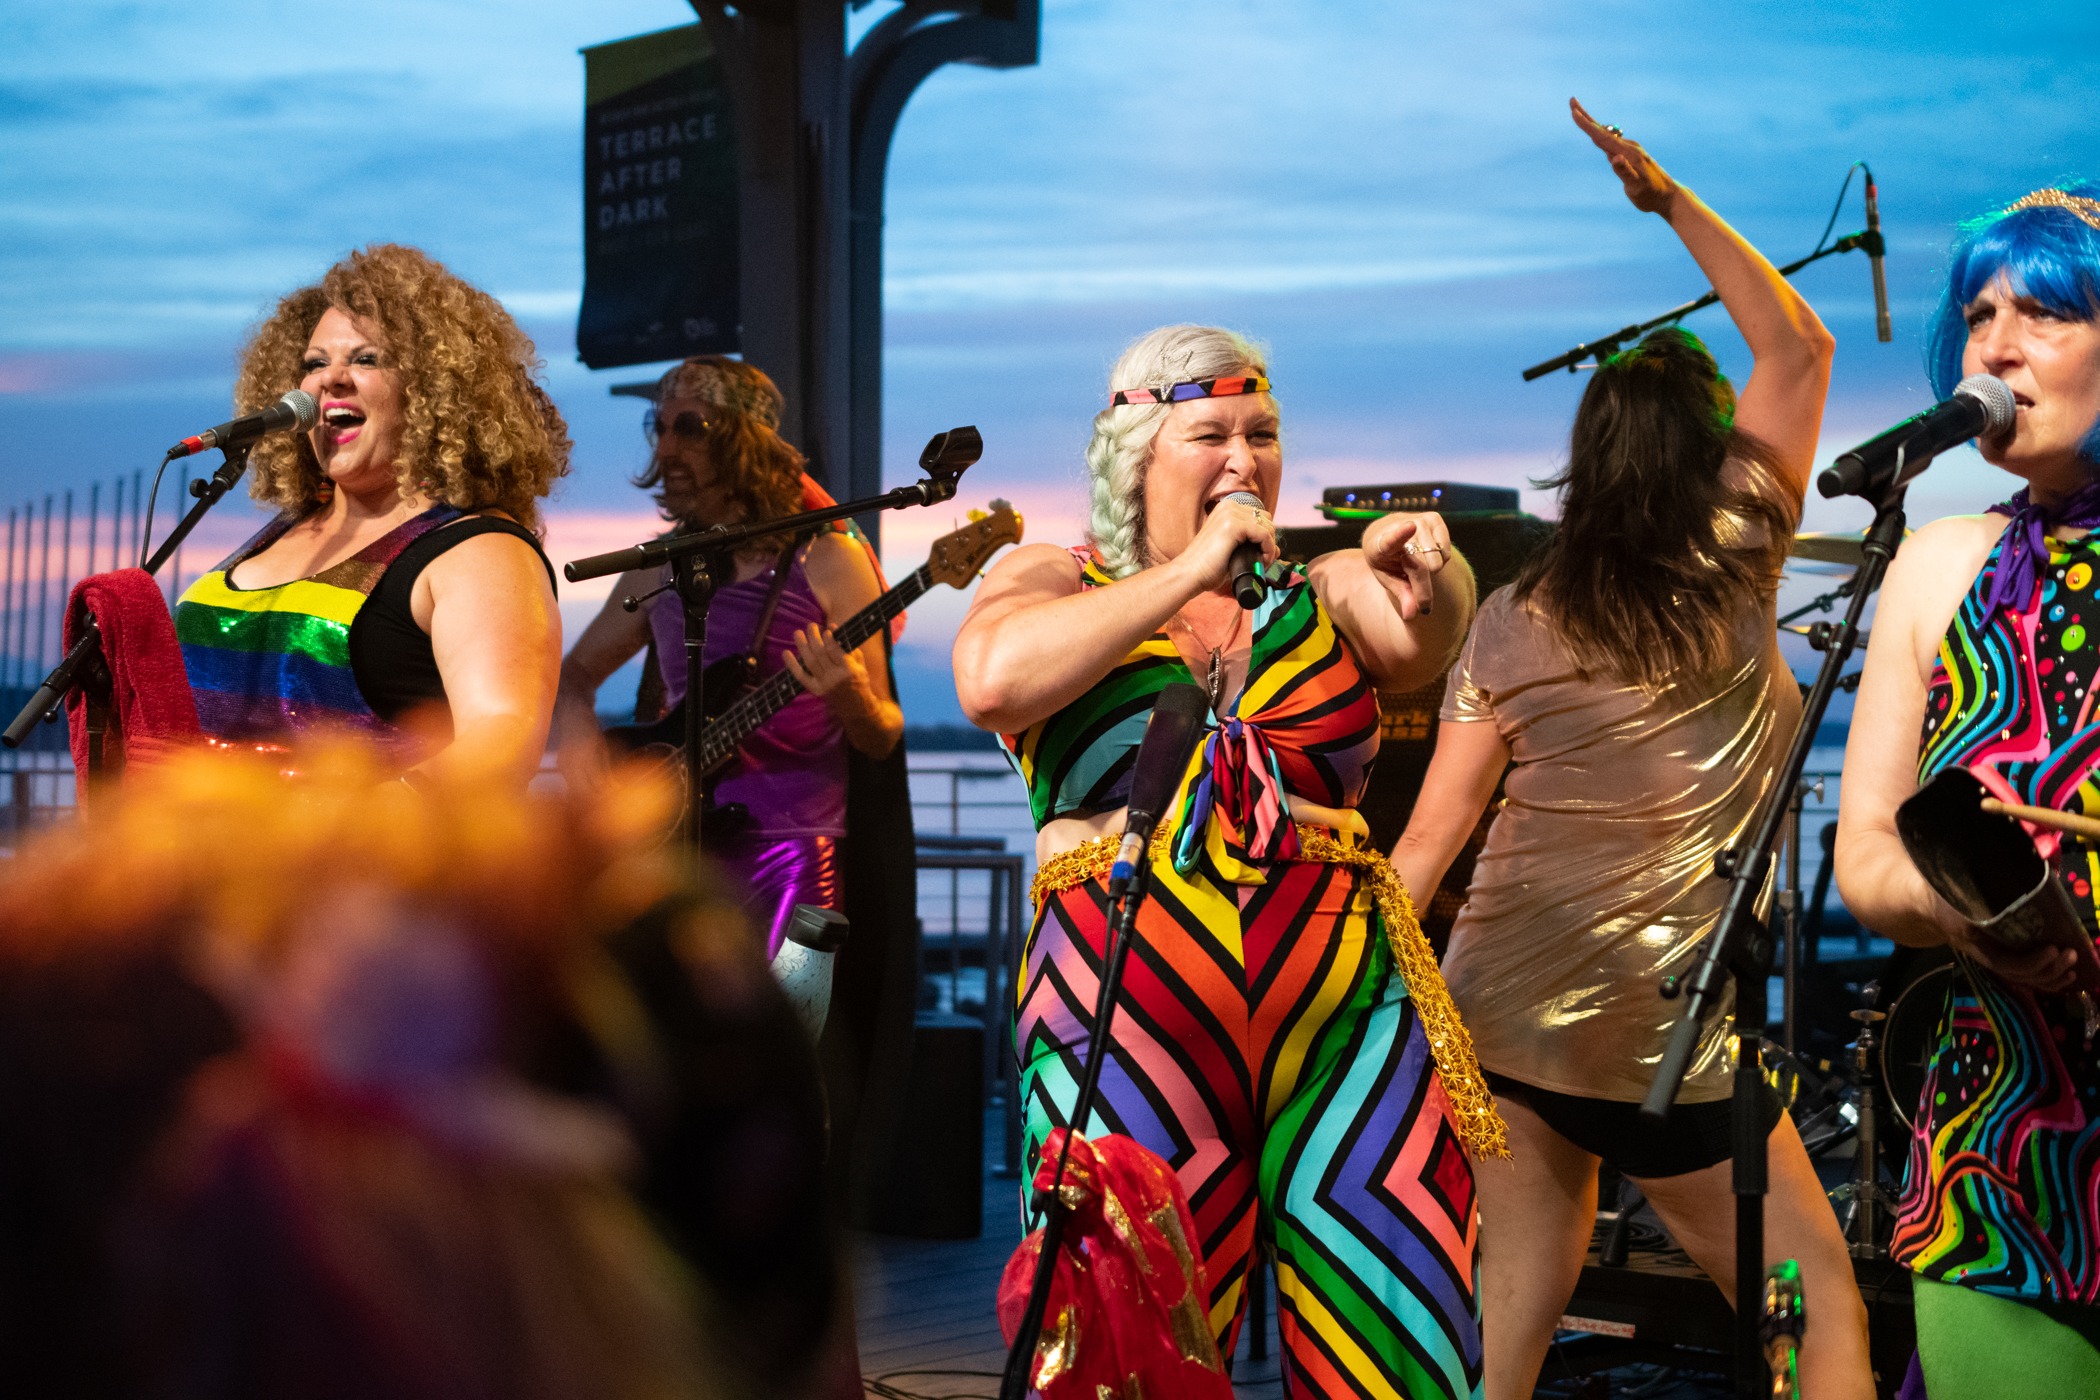
1/1000 seconds, f/2.8, ISO 3200
Aperture
For the most part, you would want to keep your aperture as wide open as possible. You may, however, choose to stop down your aperture a little so as to improve optical performance and/or to increase the depth of field of the scene. You should refrain from stopping down your aperture if your shutter speed would be too slow or if your ISO would be too high as a result.
Contrary to popular belief, stopping down your aperture won’t affect how your camera autofocusses unless you’re using a mirrorless camera. If you’re using a DSLR, your camera will always focus wide-open and then stop down the aperture when the photo is taken. Why this is important is because many people think that stopping down the aperture will ensure more accurate focus. Your focus won’t be any more accurate if you stop down, however, you will get more in focus because the depth of field will now be more accommodating.
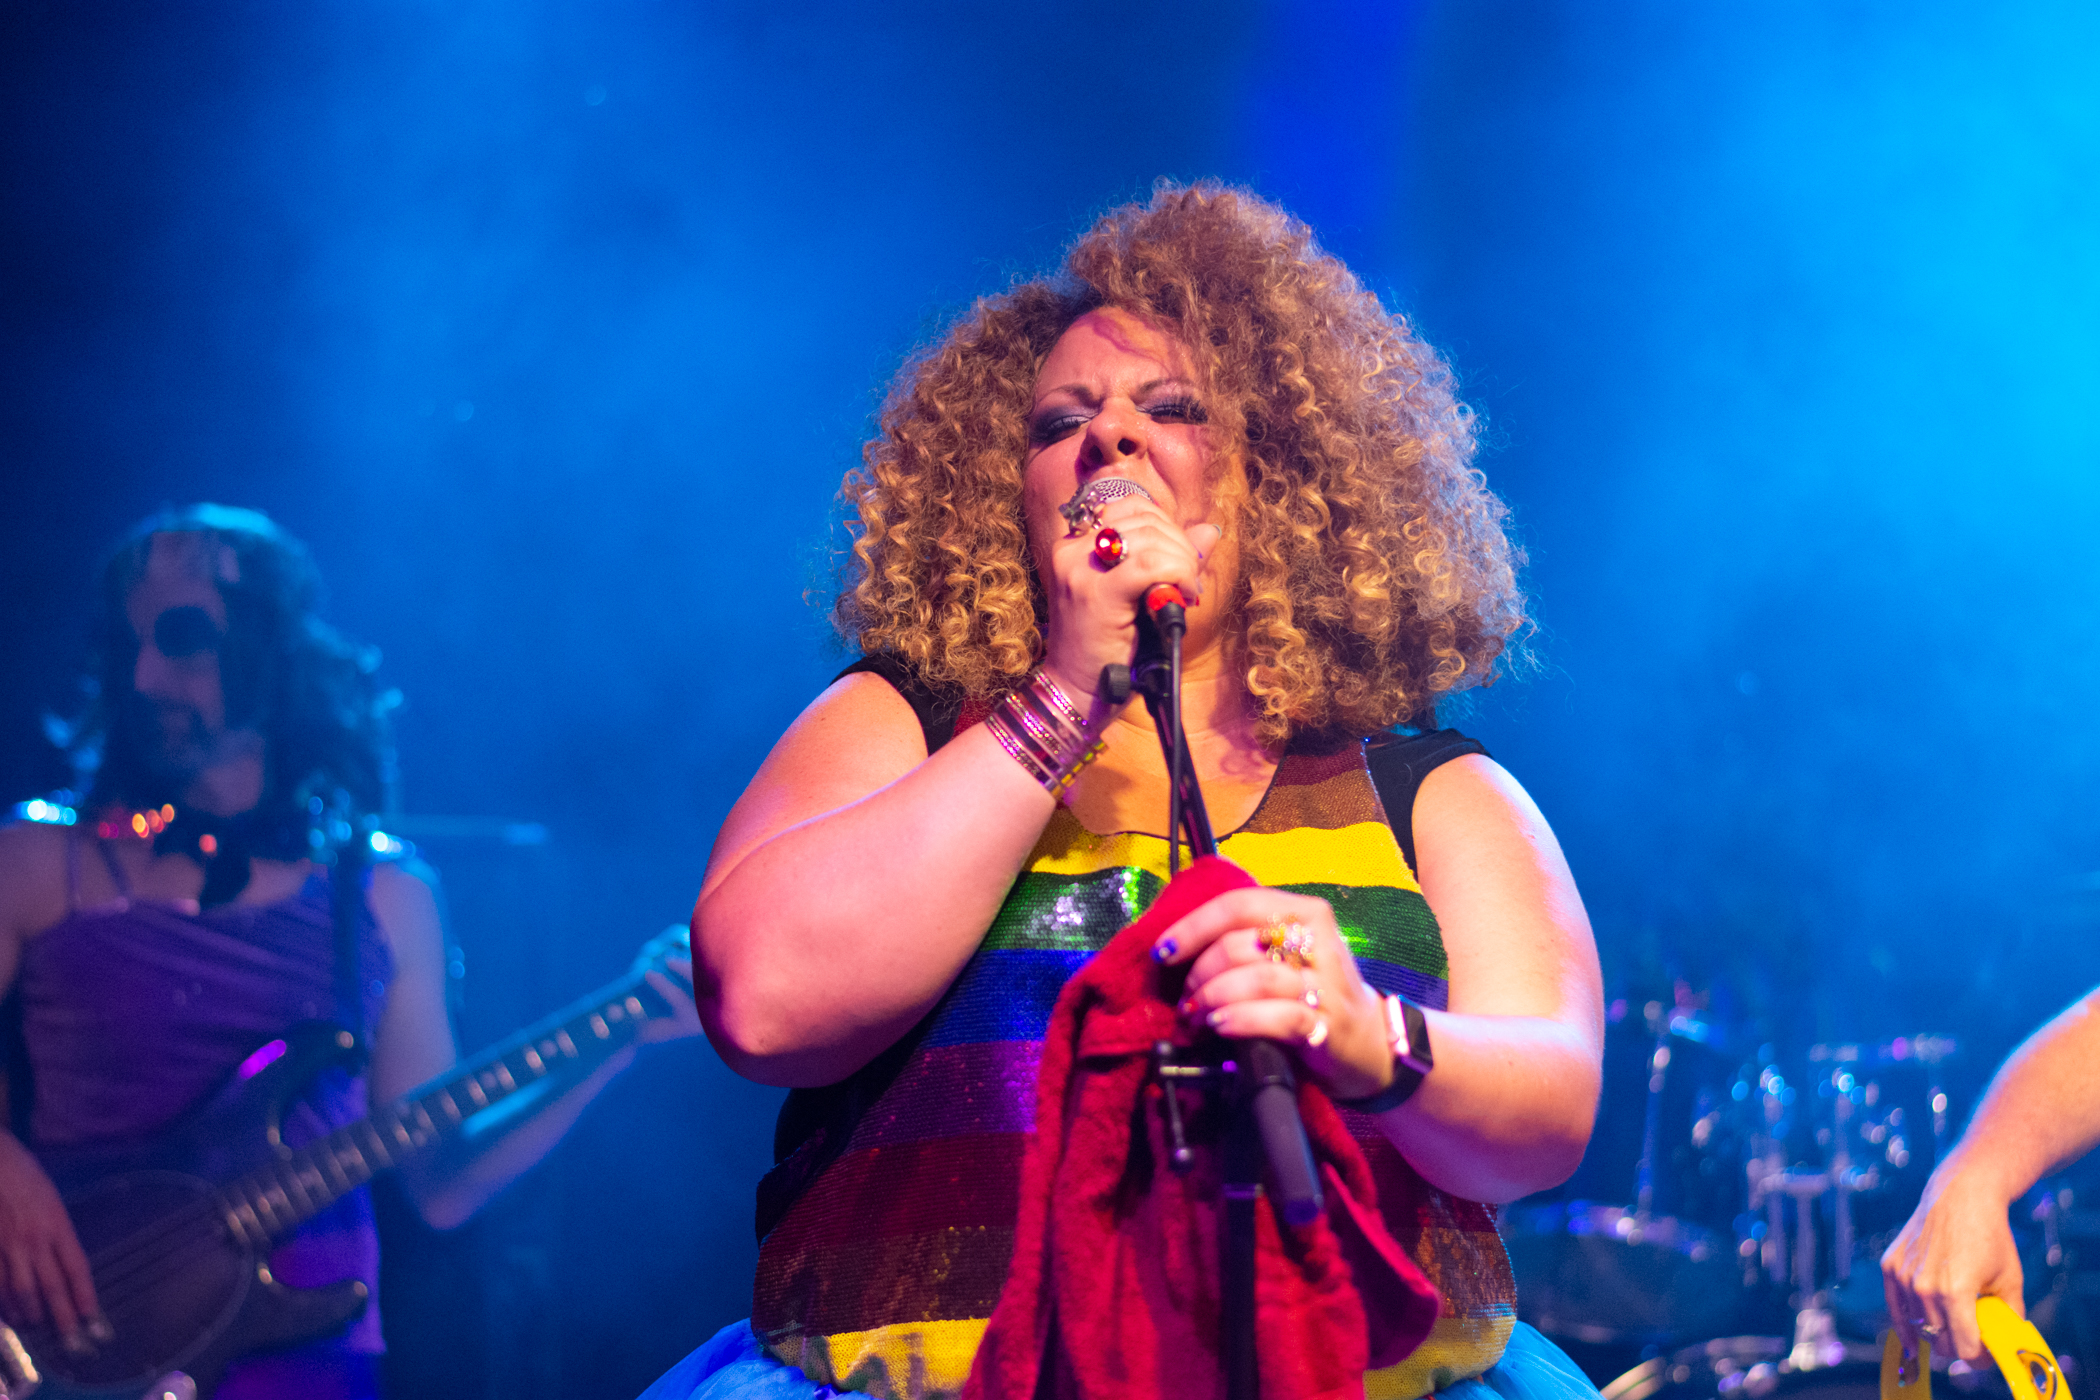
1/1000 seconds, f/2.8, ISO 3200
ISO
This is a setting that a lot of photographers usually avoid. One thing to note about this setting is that a higher ISO does not mean more perceived noise in the image, provided that the image is properly exposed with the shutter speed. The ISO setting does not affect the amount of light that hits the sensor, unlike the shutter speed and aperture settings. After setting the shutter speed and the aperture, increase the ISO as high as necessary; till the image is properly exposed. After setting the ISO, ensure that you’re not using a shutter speed higher than necessary and that your aperture isn’t getting in the way of image quality. I can’t give a specific recommendation on the ISO that you should use but expect anything between ISO 400 and ISO 12800, depending on how bright the stage lighting is and what lens you’re using. Most modern cameras nowadays perform excellently within that range, so you should have nothing to be worried about!

1/1250 seconds, f/1.8, ISO 2000
White Balance
This setting is very dependent on the lighting present at the scene. For most concerts, you should leave your camera on Auto White Balance as it does a pretty good job of sorting out the scene, but it’s definitely not perfect and can change from shot to shot. A helpful tip is to shoot in RAW while using Auto White Balance so that you can pick the shot with the most accurate white balance setting and copy its settings into all the photos you shot during that concert. It’s also important to ensure that the tint of the scene is not overly green or overly magenta, so be careful to adjust the Tint slider as necessary.
1/1000 seconds, f/2.0, ISO 2000
Autofocus
I saved this setting for last because it is probably the most important setting to pay attention to. You will want to ensure that you are nailing focus on the performers. To do this, I’d recommend selecting an individual focus point and placing it on the face of the performer you want to have in focus, or on the eye if you’re close enough. Also, I’d recommend that you use continuous (or tracking) autofocus so that you always keep the subjects in focus, regardless of whether they’re moving or not. You will want to check that your camera is nailing focus because the low and harsh lighting conditions of most concerts may be a challenge to even the best of cameras.

1/1000 seconds, f/2.0, ISO 2000
Concert photography can be super fun once you get the settings right. Remember that you should spend more time thinking of creative ways to compose your images and tell a story, rather than thinking of what settings you want to use, so definitely try to practice using these settings before the concert starts so that you can focus on being creative once the concert starts. All the photos featured in this blog were from a concert I shot for the VO5 disco band. I absolutely loved the experience and I hope you love this blog post even more! Here are a few more photos from the event.

1/1000 seconds, f/2.0, ISO 2000

1/1000 seconds, f/2.0, ISO 2000
1/1250 seconds, f/2.0, ISO 2000

1/1000 seconds, f/2.0, ISO 2000